https://flic.kr/p/uyGoxS
Just as when I made my wedding dress (I completed the bodice and then didn’t work on the skirt for a couple of months) this post has been on the back burner for some time. Now I am excited to share other wedding projects, but I feel I can’t move on to those until this is done. Quick note, if you click on each photo, they are linked to Flickr. My Flickr page gives a further description of the photo.
https://flic.kr/p/uhFjMv
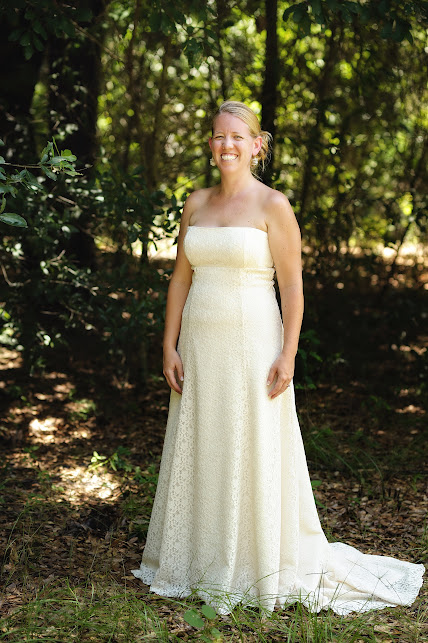
After working on the bodice for what felt like million hours, the skirt portion was a simple undertaking. The dress didn’t have any crinoline or fancy under-skirting to make it poof out any. It was a basic A-line-ish skirt with a small train. The only difference being that this dress had a lining, the main fabric, and the lace overlay.
https://flic.kr/p/uhxdFY
Because I was using expensive (at least for me) and not easily replaceable (everything had been bought online or from far away), I didn’t want to send it through my serger to create finished edges. Instead, I opted for French seams. This doubled sewing time since each seam needed to be sewn twice.
https://flic.kr/p/tC7mCd
A French seam is similar to an outside leg seam on blue jeans. First, you sew the fabric together from the outside. Then, you turn the garment inside-out and sew along the same line just far enough away to encase the edge between the seams. Doing this prevents the fabric from unraveling and leaving strings all over.

It really was quite boring doing this portion since all I was sewing was long straight seams over and over and over and over again. I was delighted when I finally got to baste (temporarily stitch) the three skirt layers together.
https://flic.kr/p/tC7r9h
When it came time to stitch the bodice to the skirt, I found another conundrum, the bodice was decidedly longer than the skirt opening. Even with my decision to attach the bodice further down the skirt than the normal 5/8 inch. I discovered with the different seam and the multiple layers, the skirt was narrower than the practice copy. Thankfully, the skirt flared out and by lowering the bodice, I was able to make it fit nicely.
https://flic.kr/p/uzmkxB
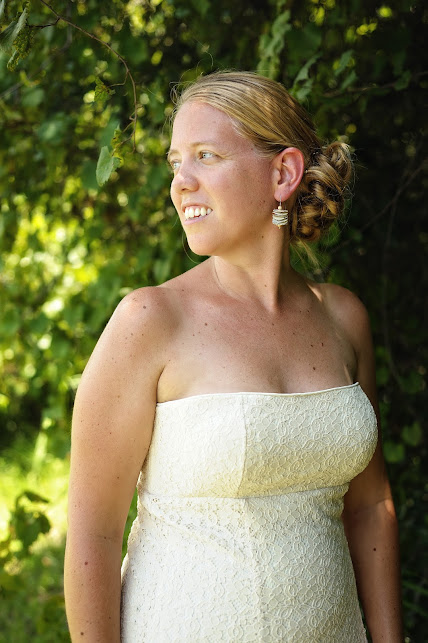
My solution to the extra bodice length was to add fancy buttons and loops rather than the usual hidden hook and eye. Doing this also added support to help keep my dress up!
By the time I got to hemming this project, I was over the whole thing! Really, I just don’t like hemming stuff. I often have a handful of projects hanging around waiting for hems. Five minutes of work, but I just don’t do it. In this case, since I lowered the bodice, I didn’t have much to work with for hemming. I decided to do a rolled hem with my serger. Doing this meant I wouldn’t have to iron and pin each skirt. Instead, I could just sit down and start feeding the fabric through the machine and it would come out with thread encasing the edge of the fabric. What could have been a massive hours long project was quickly completed in less than an hour.
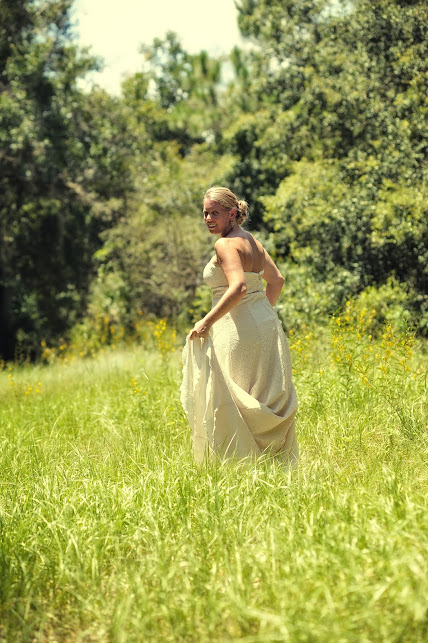
I was finally finished!
https://flic.kr/p/uz8LAH